RV Summer Prep Simplified: A Handy Guide for Memorial Day Travelers
Posted by Camco on May 9th 2025

Memorial Day weekend, summer’s unofficial kickoff, is the perfect time to pack up your RV for road trips, campfire stories, and unforgettable adventures. It’s your chance to escape the everyday, discover new destinations, and make lasting memories with your RV as your trusty sidekick. But before cranking up the playlist and hitting the open road, a little TLC for your rig can help you avoid any last-minute hiccups.
Here’s how to get your RV road-ready for Memorial Day!
Step 1: Sanitize Your Freshwater System
One of the first steps when waking your RV from its winter slumber is cleaning and sanitizing the freshwater system. Even if it was drained before storage, bacteria or debris may have built up while it sat unused.
Here’s how to sanitize the system:
- Drain the System: Turn off your water heater, then open the drain valves on your fresh water and hot water tanks. Use the Antifreeze Hand Pump Kit to remove any leftover antifreeze if necessary. Close the valves when done.
- Clean with DE-Winterizer: Mix DE-Winterizer (check the label for the correct ratio) and use the Fresh Water Tank Filler to pour it into your freshwater tank without any spills. Turn on your water pump and run the solution through every faucet in your RV until you can smell the cleaner. Once done, drain the tank completely and flush the entire system with clean water to rinse away any residue.
- Deep Clean with Spring Fresh: Prepare a Spring Fresh and water mixture (follow the instructions for exact measurements) and carefully add it to your tank using the Tank Filler to prevent messes. Run the mixture through all your faucets to ensure it reaches every part of the system, then allow it to sit in the tank for a few hours. After the wait, drain the tank and flush it thoroughly with fresh water until the cleaner is fully rinsed out.
- Refill with Clean Water: Fill your tank with potable water, check for leaks, and you’re ready to go!
For a step-by-step video guide, Camco’s YouTube channel has an excellent tutorial on sanitizing RV freshwater systems. Go watch it for an easy visual walkthrough.
Step 2: Tackle the Black and Grey Tanks
A build-up of odors or clogs in black and grey water tanks can quickly turn a great getaway into an unpleasant experience. Keeping them clean is essential for smooth and stress-free camping.
Start by giving both tanks a thorough flush. The right tools make this job a whole lot easier. The Rhino Blaster Pro is a favorite among RVers, thanks to its clear elbow that lets you see exactly when the water runs clear, so you’ll know the tanks are squeaky clean. Another great option is the Camco Flexible Swivel Stik. It’s designed with a powerful rotary cleaning action that breaks up stubborn buildup and gets rid of those odor-causing particles.
After flushing, don’t forget to add TST Pro to your black tank. It helps break down waste and keep odors in check, so you're all set for a fresh start. Before you hit the road, take a moment to check your stock of toilet tank chemicals. If you’re running low, now’s the time to restock—before you’re miles away from the nearest store!
Step 3: Restock Essentials for Comfort and Safety
Getting ready for a Memorial Day adventure isn’t just about prepping your RV; it’s about making sure you’ve got the essentials covered. Check what ran low last season and replenish your supply. Here’s a quick list to help:
- TST toilet chemicals to keep tanks odor-free
- RV-safe toiletries, soaps, and cleaners
- Cooking and grilling gear
- Batteries, fuses, and light bulbs
- First-aid kits and emergency tools
Also, take a moment to test your fire extinguishers and smoke detectors. Ensure they’re fully charged and functioning properly for added peace of mind.
Step 4: Check and Replace Gear as Needed
RVs can take a beating over time, and damaged or worn-out camping gear can create problems. Before your trip, give your RV a thorough inspection and replace any questionable parts. Some areas to pay extra attention to include:
- Electrical Connections: Look at your power cords and electrical adapters for wear or damage. If they’re starting to fray, now’s the time to replace them with more durable options from Camco’s Power Grip line.
- Hoses and Fittings: Inspect your drinking water hoses, sewer hoses, and even propane hoses for cracks, leaks, or corrosion.
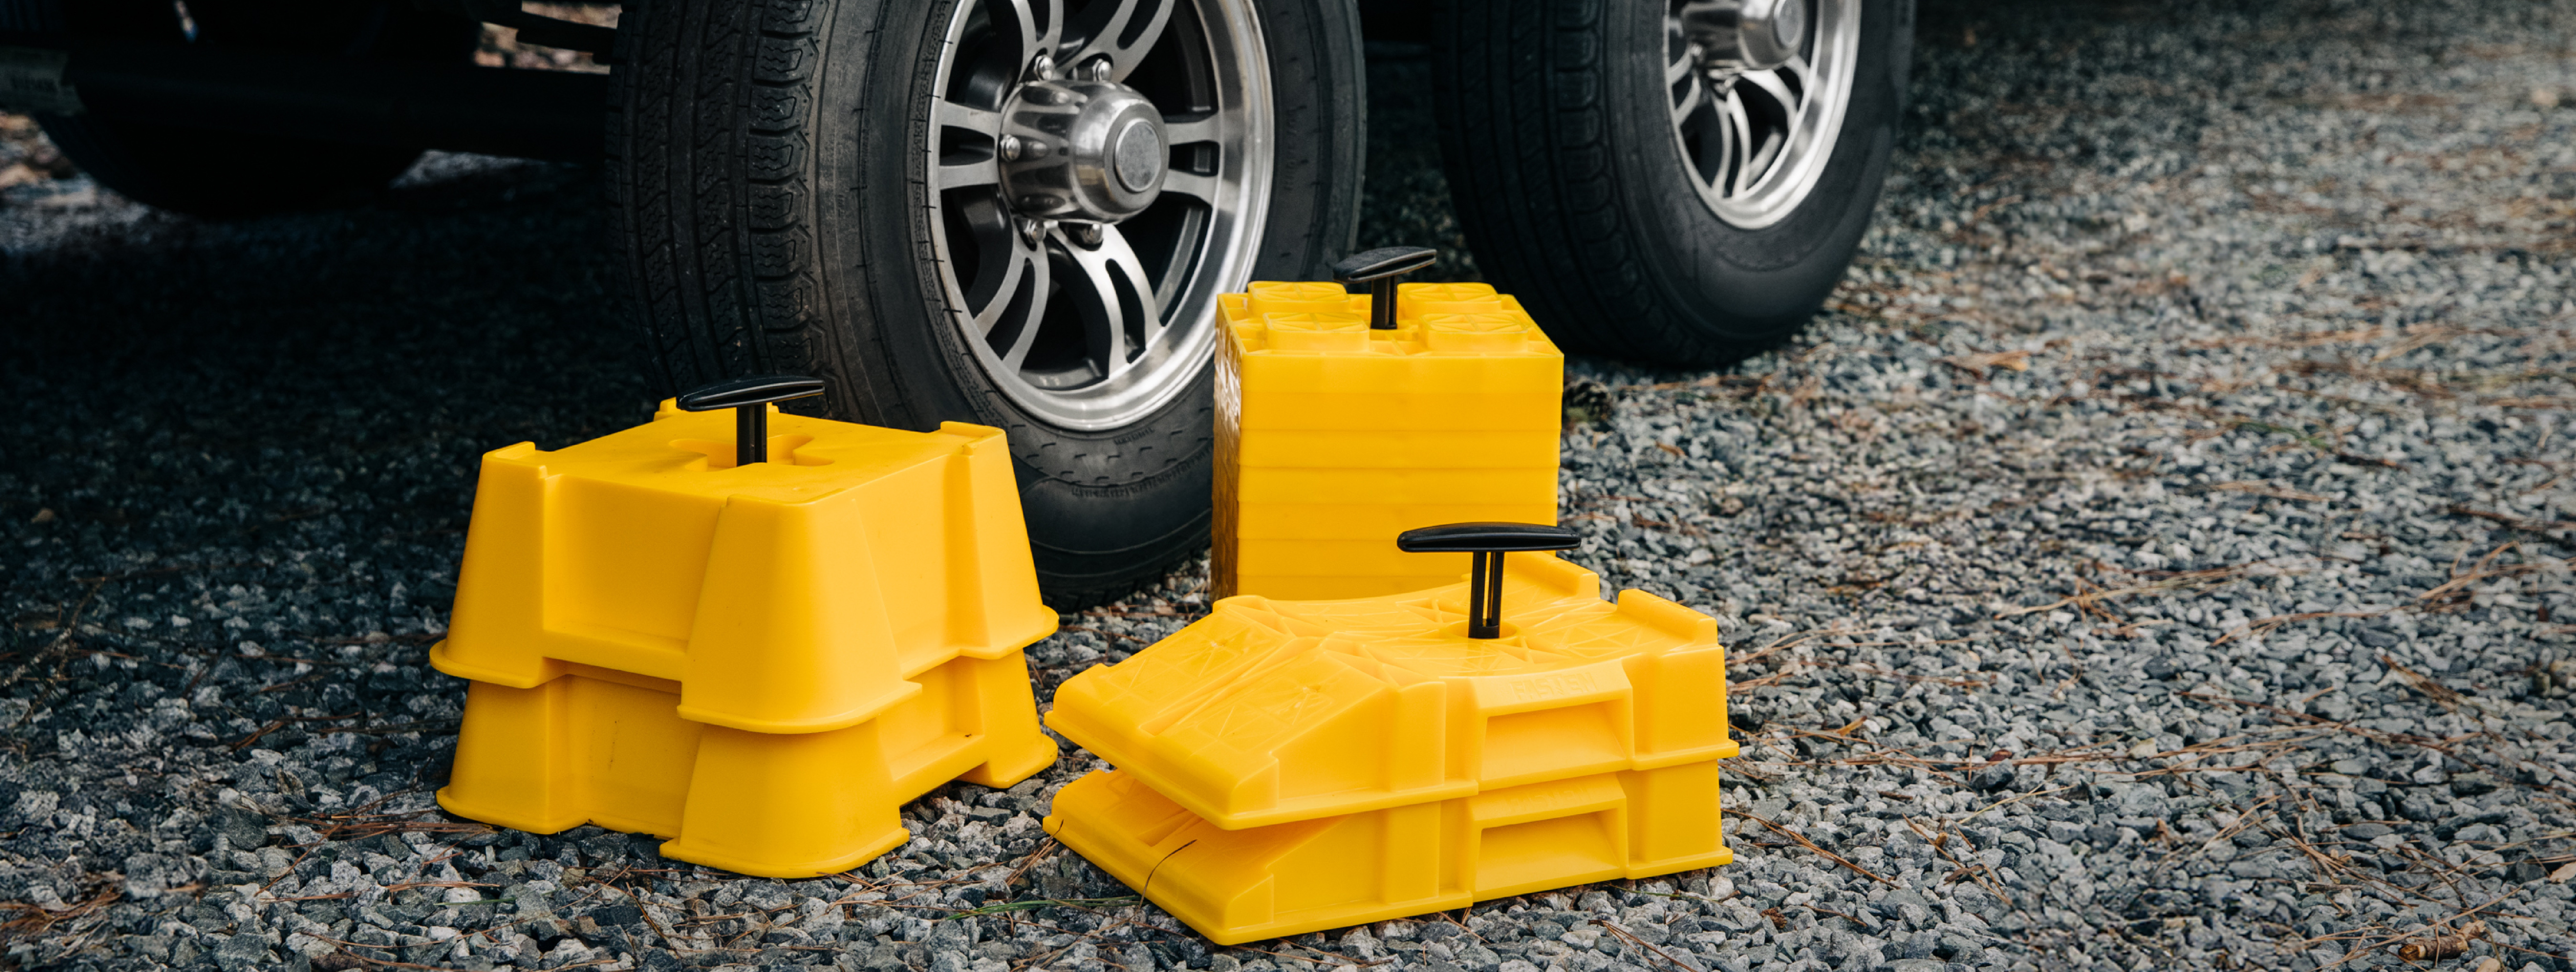
- Leveling and Stabilization Equipment: Make sure your leveling and stabilization items are ready to go. A must-have for every RVer is the Trailer Aid Plus, which allows you to change a flat tire without unloading your tandem wheeled trailer. It’s a lifesaver in emergencies!

Don’t skimp on inspecting your tires, either. Check for uneven wear, cracks, or bulges, and make sure they’re inflated to the correct pressure.
Step 5: Inspect and Reseal Exterior Seams
Water damage can wreak havoc on an RV, and even tiny leaks can lead to big problems. Stay ahead of the game by inspecting and resealing your RV’s exterior seams before your trip.
Look for cracks or gaps around windows, roof seams, and door edges. If you find any trouble spots, Pro-Tec Sealant is a quick, dependable solution. This durable sealant creates a watertight bond on slanted areas like roof edges, vent pipes, air vents, and windows.
Step 6: Upgrade Ventilation with New Vent Lids
Another often-overlooked item that needs attention? Your RV vent lids. Over time, exposure to the elements can leave them cracked, yellowed, or brittle. A damaged vent lid isn’t just unsightly; it can also lead to leaks or ventilation problems.
If your vent lids have seen better days, it’s time to replace them with a Vent Lid Replacement Kit. These kits make it easy to swap out old lids for new ones, restoring both form and function to your ventilation system.
Bonus tip: While you’re up on the roof, double-check your air conditioner filters and clean or replace them. Clean filters ensure your A/C runs efficiently on hot summer days.
Step 7: Test All Systems and Appliances
Before heading out on your Memorial Day adventure, take time to thoroughly test every system in your RV. Turn on the refrigerator, water heater, and furnace to make sure they’re running smoothly. If you have a generator, give it a test run, and check that your gas lines are clear and securely connected.
Final Touches
With your RV cleaned, inspected, and restocked, take a moment to give it a quick wash and wipe-down inside and out. A fresh, clean RV feels more inviting and sets the tone for an amazing start to your summer adventures.
Make This Memorial Day One to Remember

There’s nothing like hitting the open road, knowing your RV is ready for anything. By following this prep guide, you’ll ensure your first trip of the season is stress-free and full of great memories. From sanitizing tanks to stocking up on essentials, a little prep work now will save you headaches later.
Safe travels, and here’s to an amazing kickoff to the summer RV season!

